
Getting Started With Flutter: Part Two
This is part two of a series of blog posts about getting started with Flutter. In part one, we covered what Declarative UI is and got setup with the Flutter SDK and Flutter Plugin for Android Studio
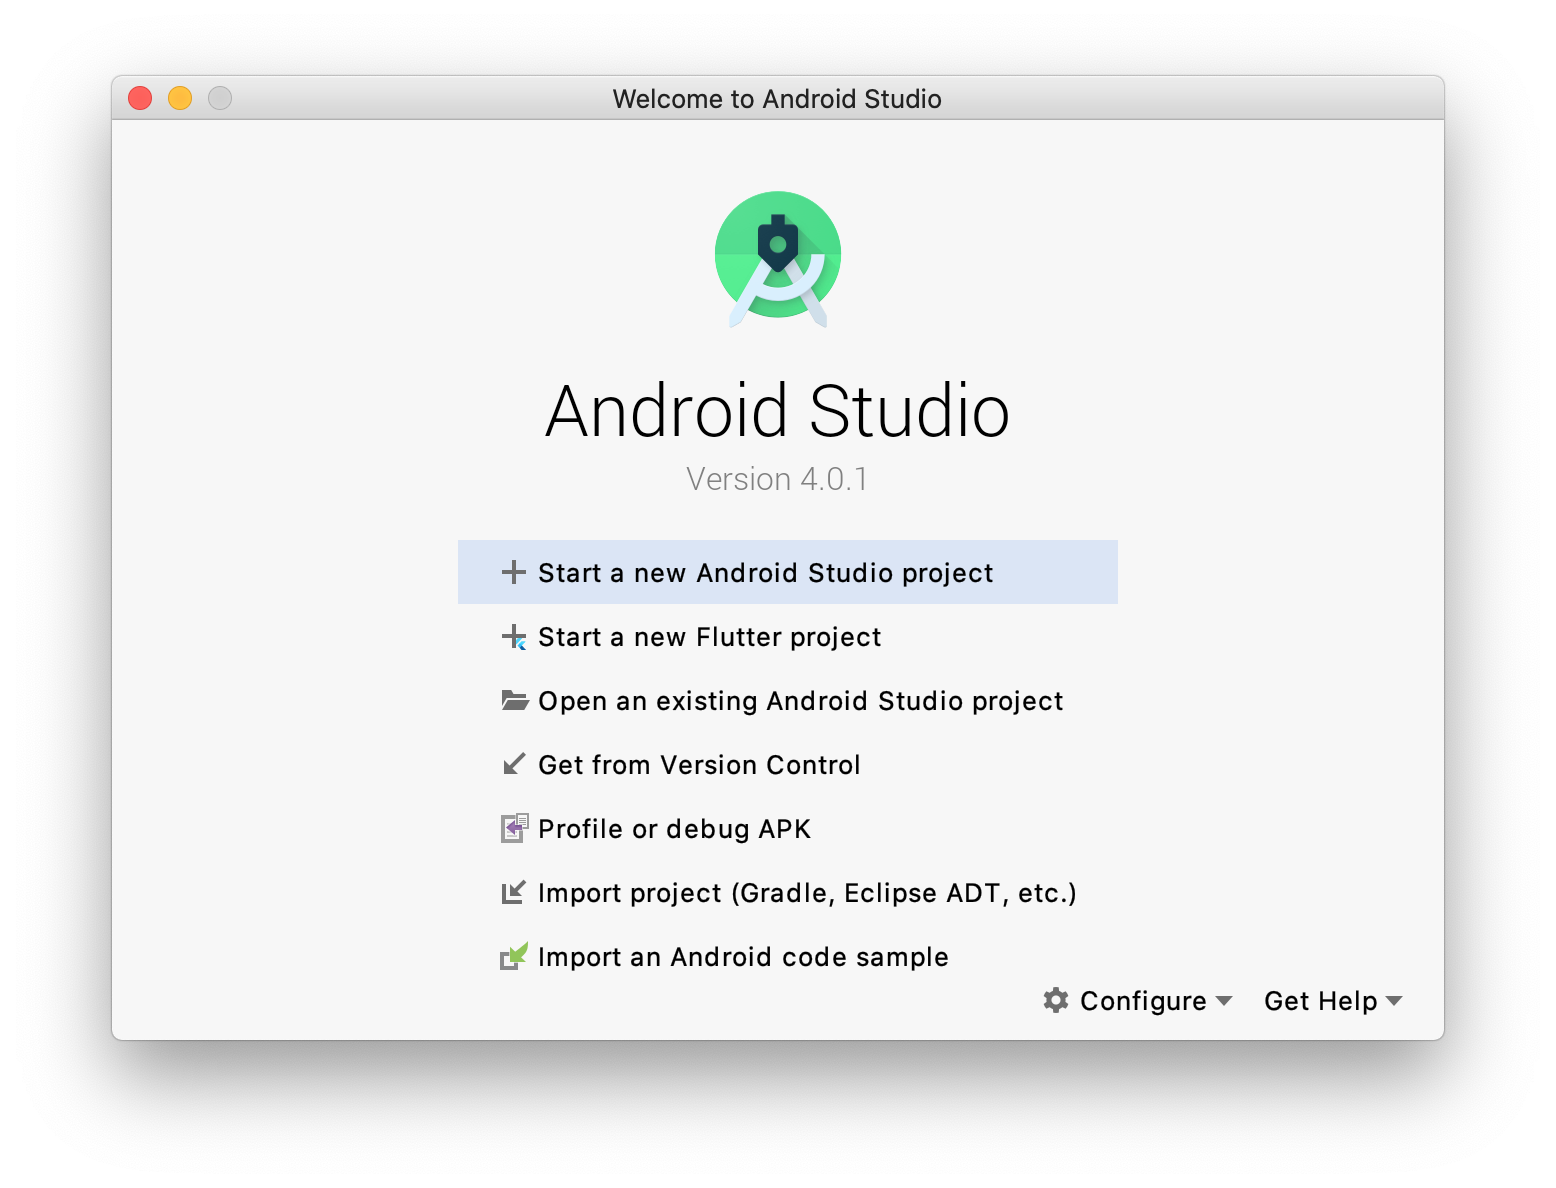
You are ready to create your first Flutter App. The Android Studio welcome screen should look like this.
Let’s get started.
Creating a Flutter project
Click the Start a new Flutter project button. A new window will open.
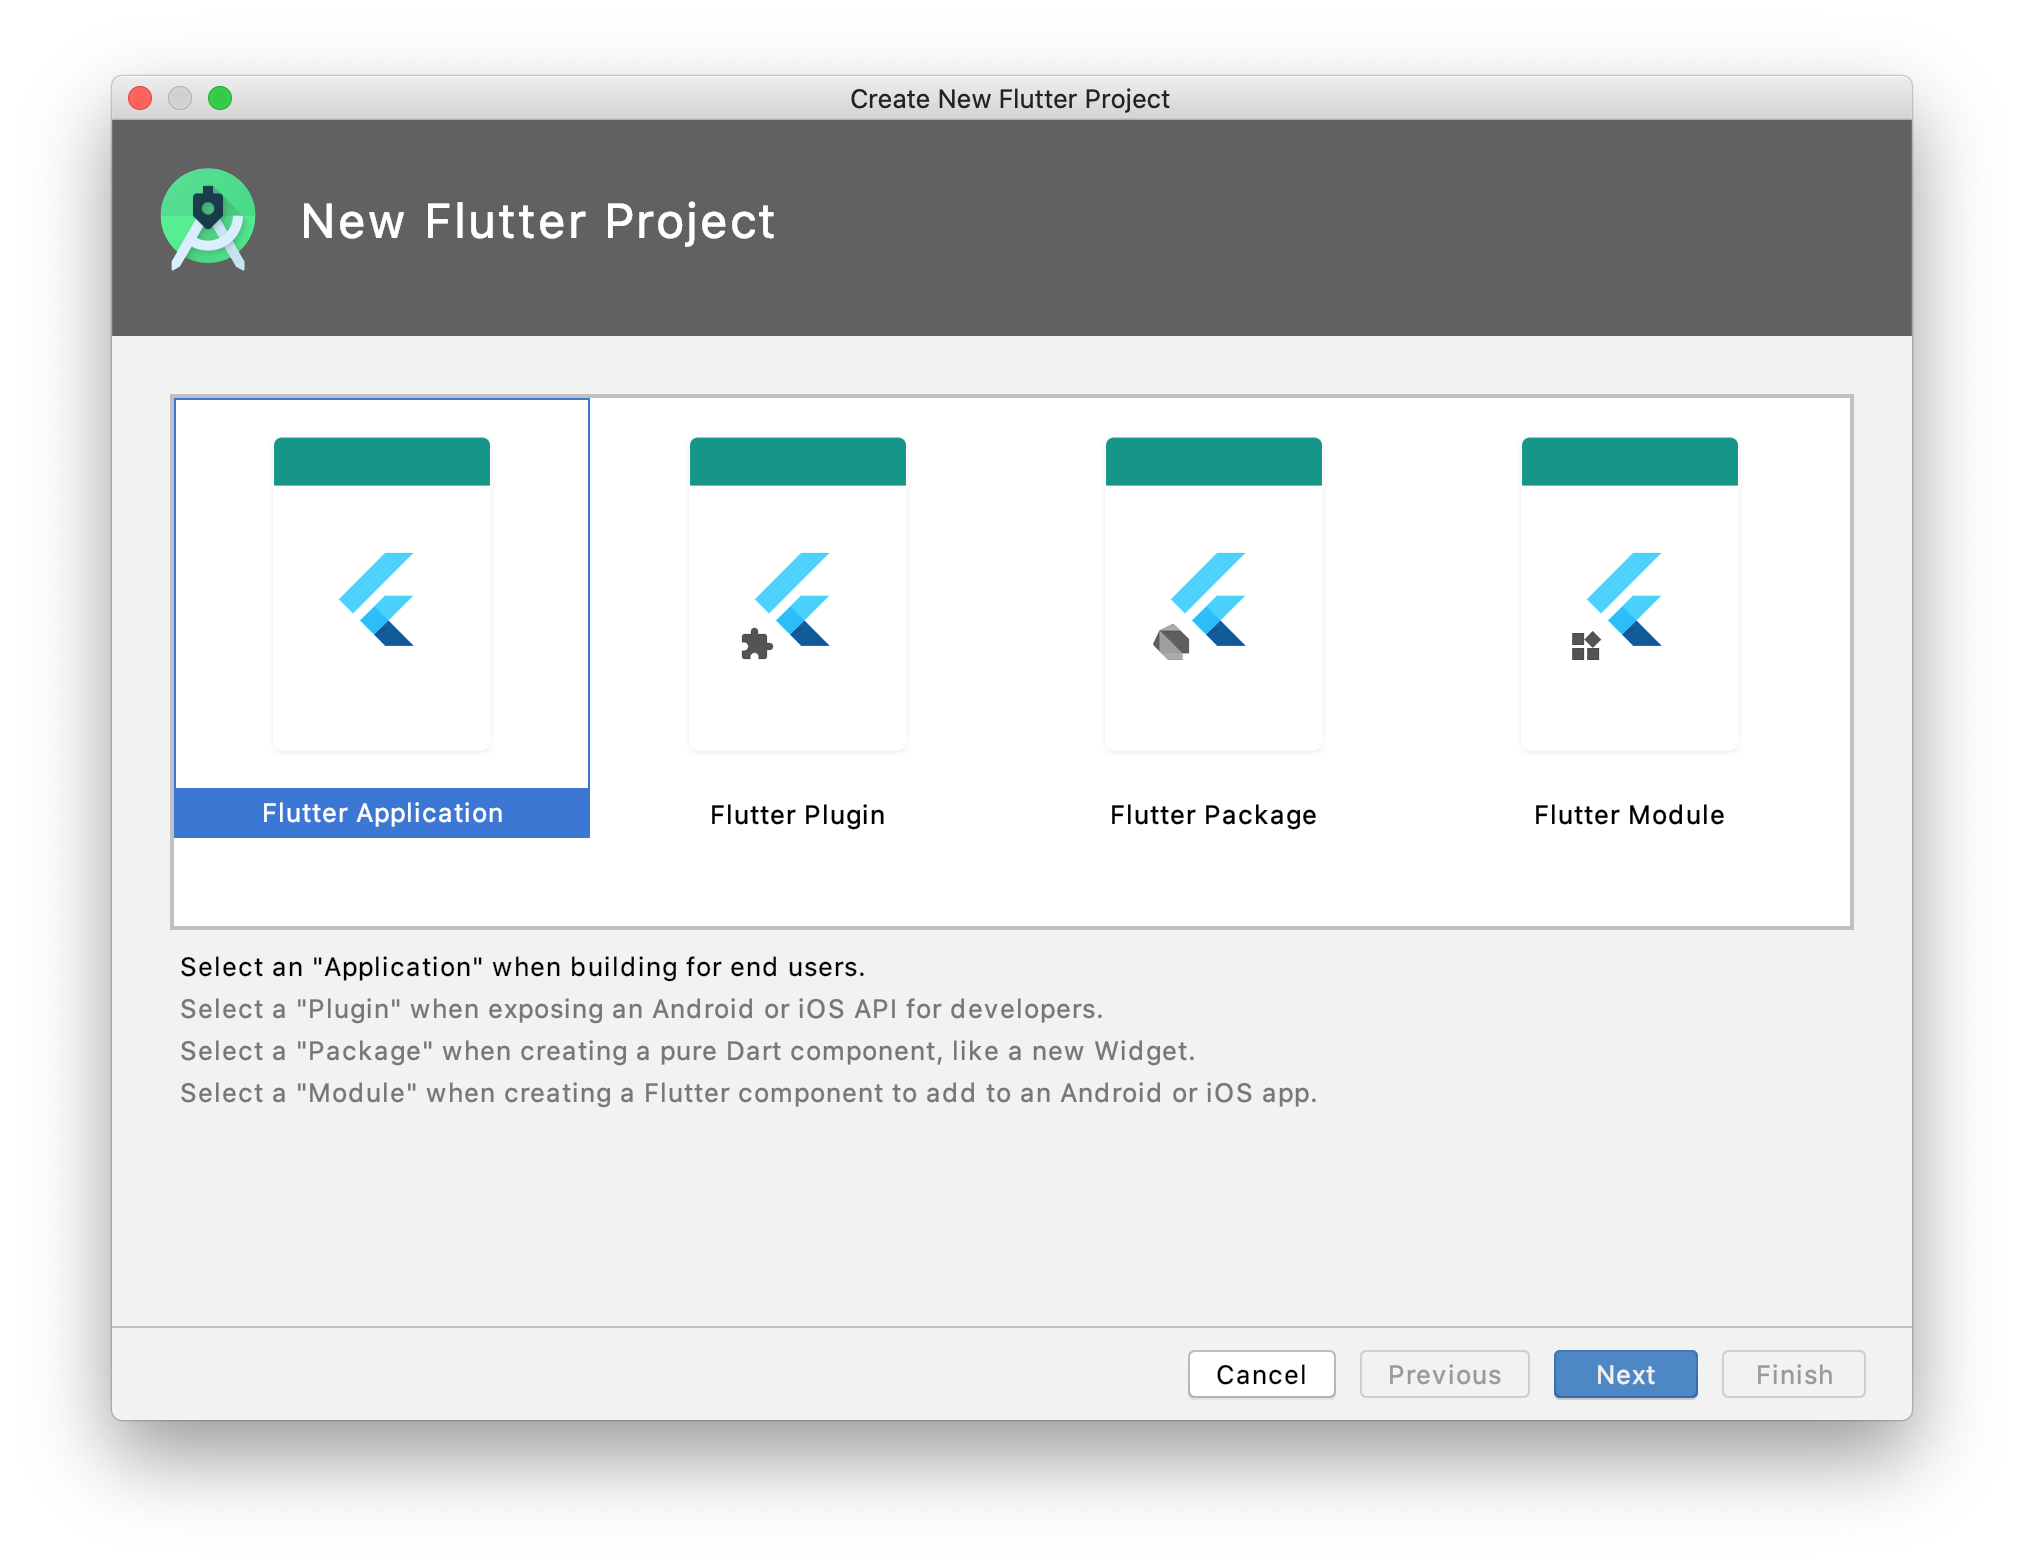
This window allows you to use different features of Flutter, depending on the task at hand. We want to create an app, so select Flutter Application and click Next.
The next screen asks for a few details about your app.
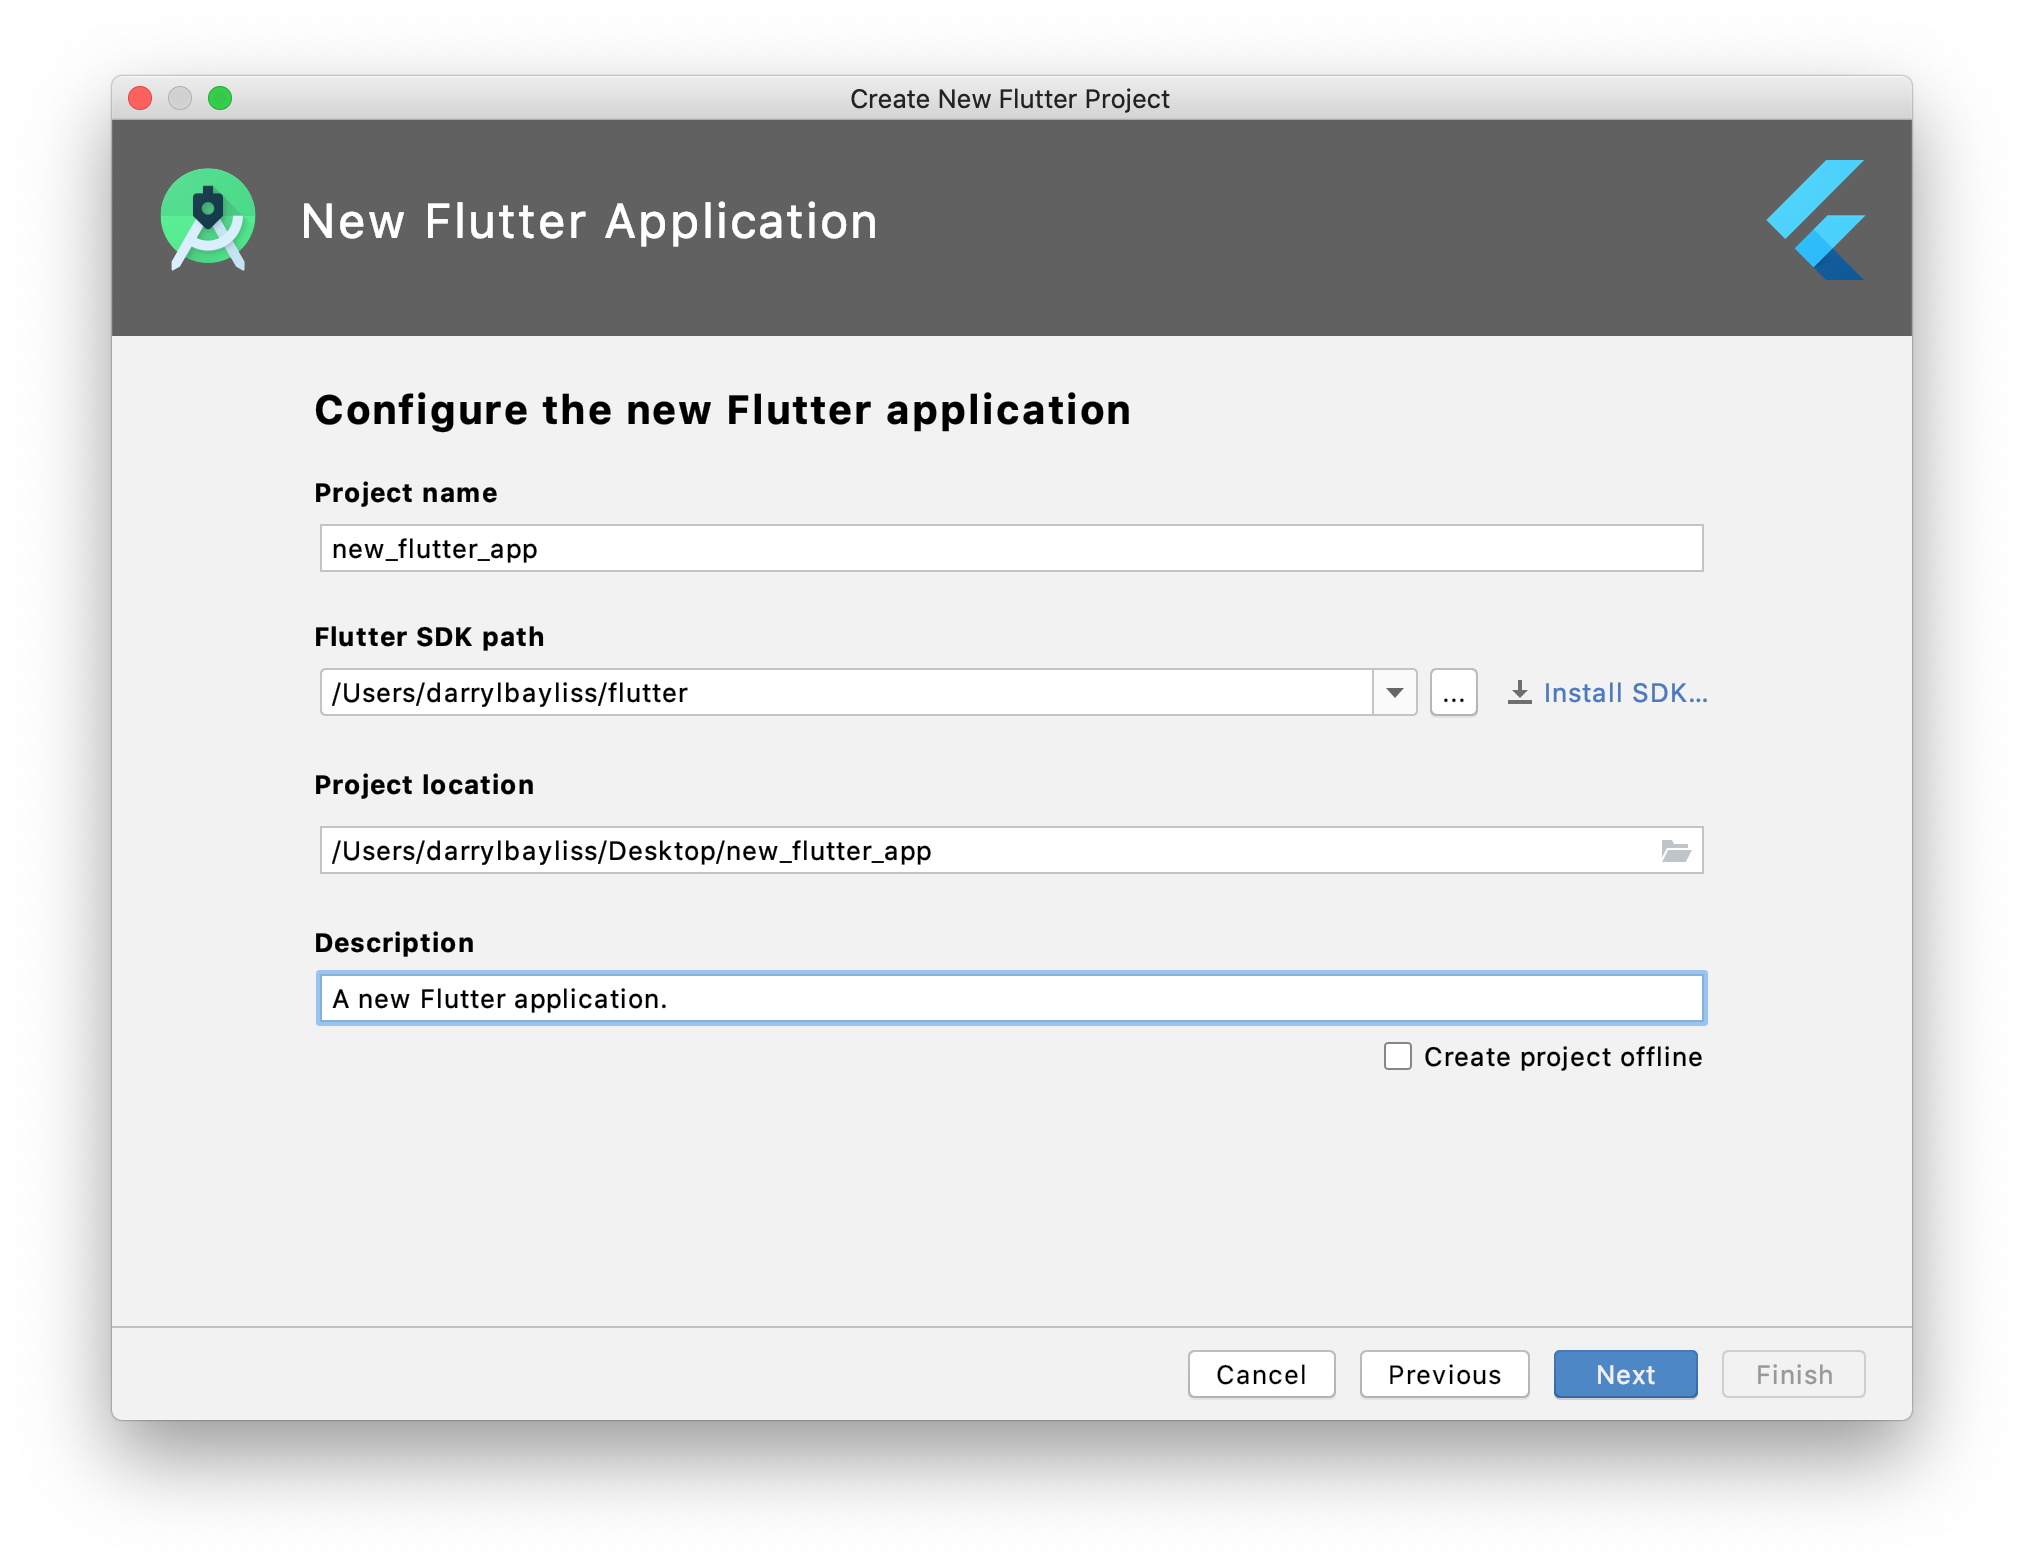
The first field, Project name, is the name of your project. This is what is shown as the name of your app. Pick wisely.
The second field, Flutter SDK path, is the place where the Flutter SDK is installed on your machine so Android Studio can use it. This should be filled in for you automatically. No action is needed here.
The third field, Project location is the location where your project is saved. Save the project in a location of your choice.
The final field, Description, is used to provide a description for your app’s pubspec.yaml. Don’t worry too much about what this is. Keep the default description for now.
Click the Next button to progress to the next screen.
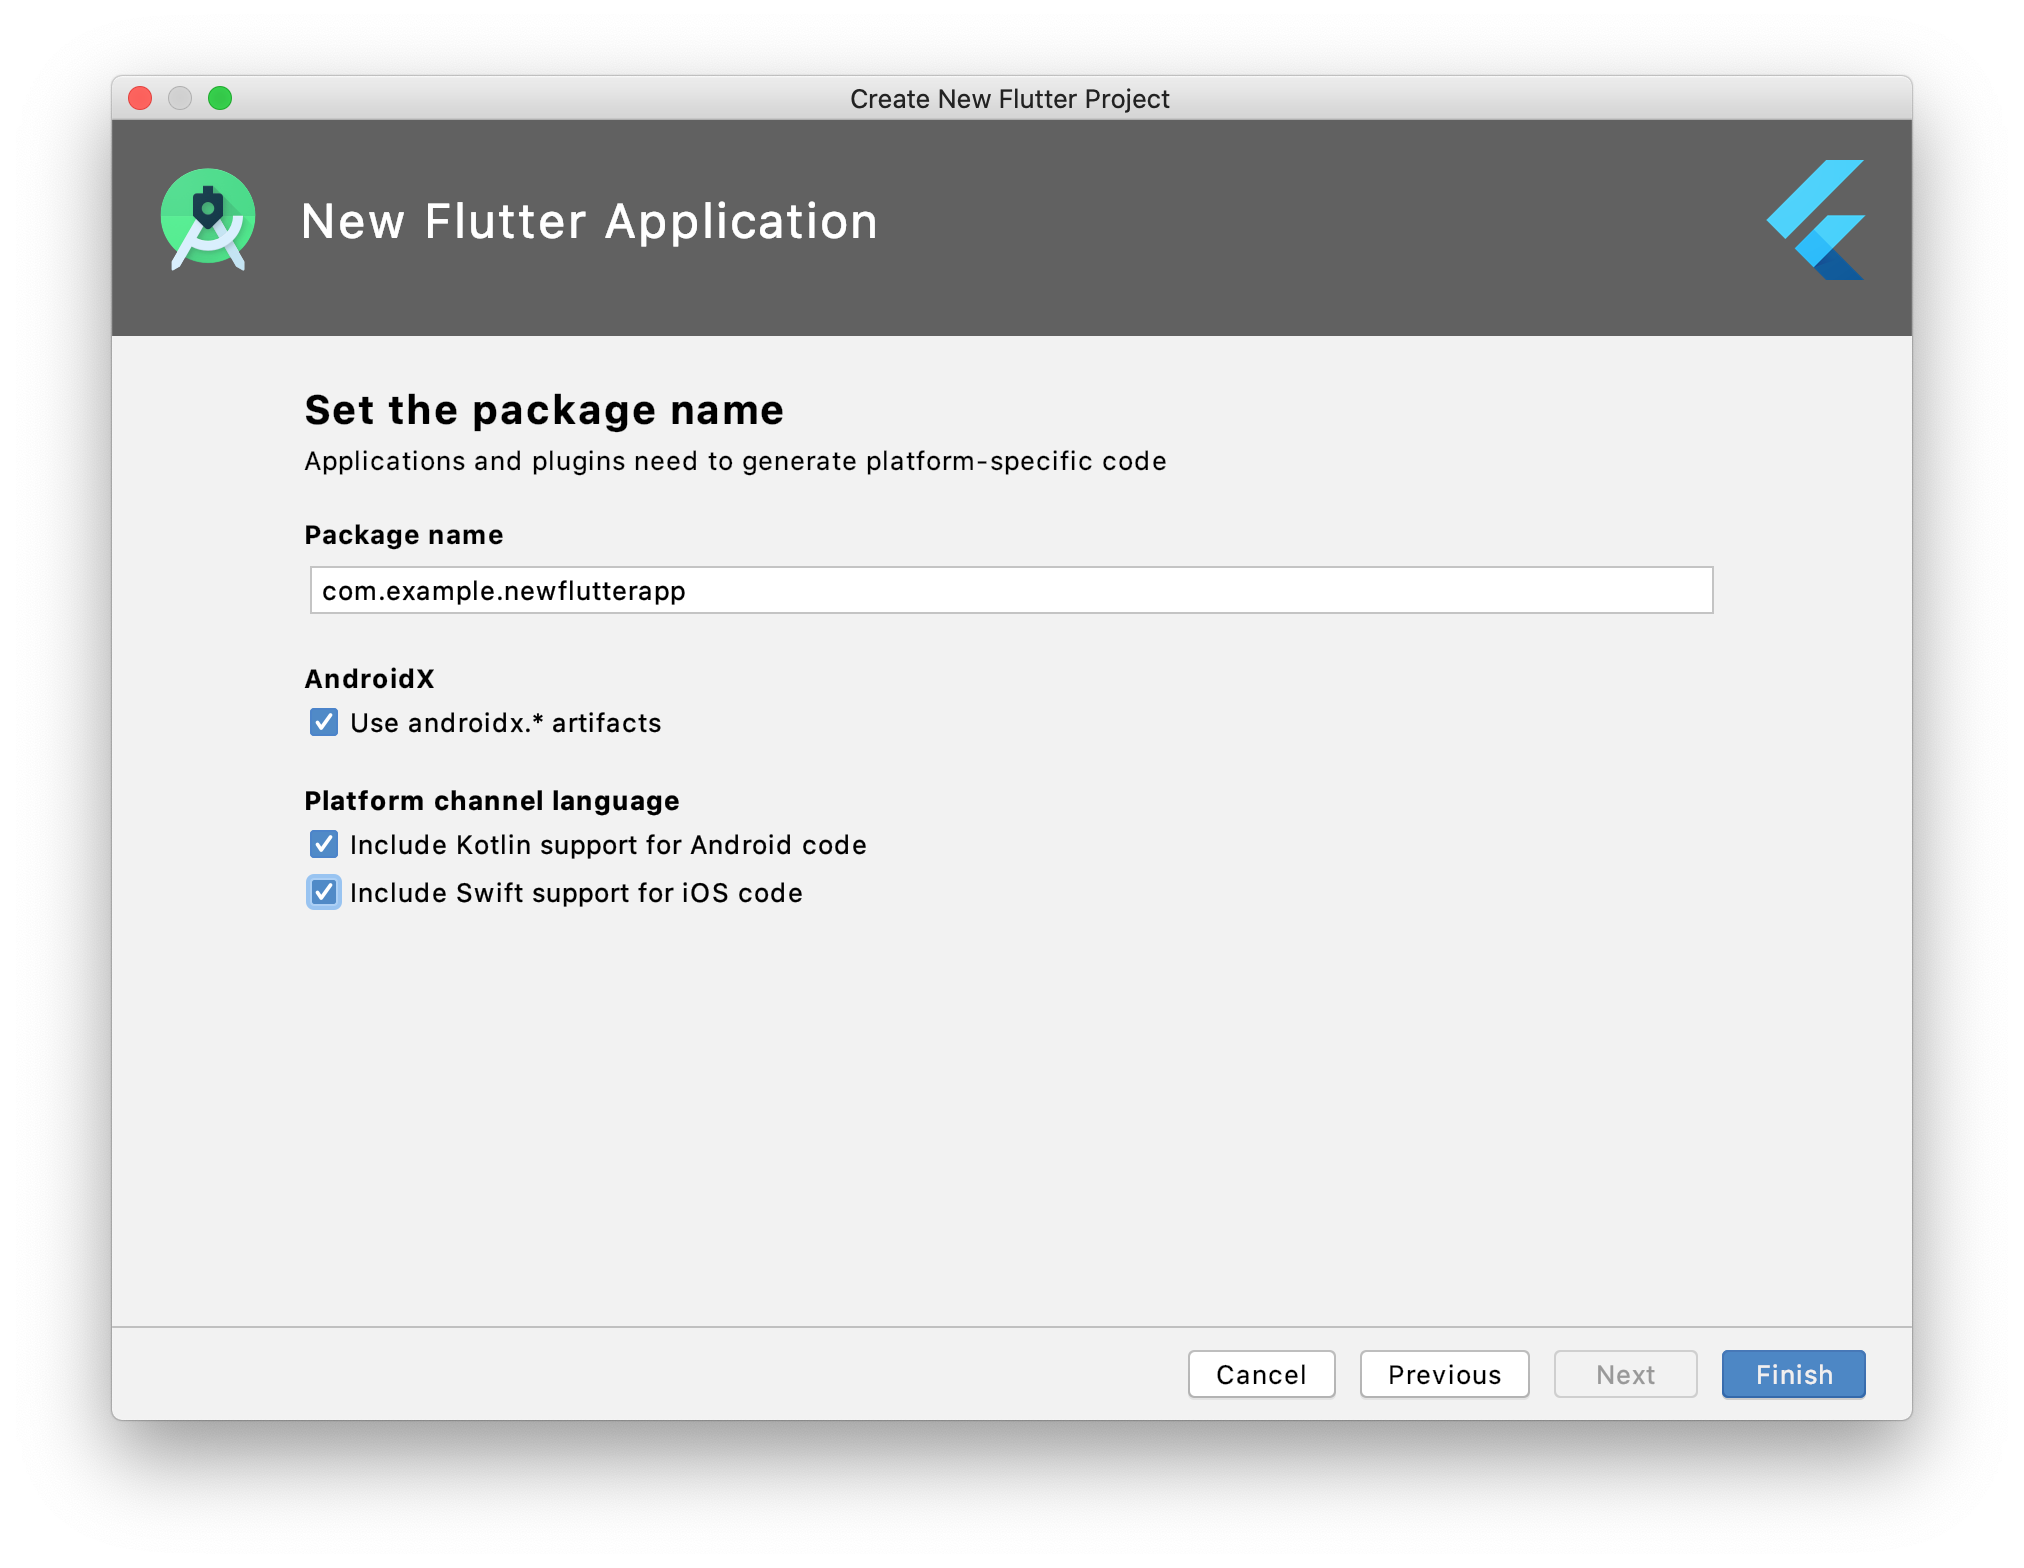
This screen asks for a few more details about your app. The first textfield asks for the Package name for your Flutter app. This serves two purposes. For iOS, this is your App bundle identifier. For Android, this is your app package name.
Enter a package name that is likely to be unique. It’s important for this to be unique because iOS and Android rely on this to ensure only your app uses this package name and no one else.
The Use androidx. artifacts checkbox decides whether your Flutter app will use libraries from the AndroidX collection.
AndroidX is a set of libraries to help make development for older versions of Android easier. This checkbox is checked by default, so no action is needed.
The next two checkboxes, Include Kotlin Support For Android Code and Include Swift Support for iOS Code ensures your Flutter app can communicate with pieces of your app written in Swift or Kotlin. Using a concept called Platform Channels.
Platform channels are how Flutter works with low level features of a platform. Recall that Flutter is a UI framework, it isn’t responsible for features like accessing the device camera or reading the device GPS.
Flutter instead hands these tasks off for the OS to handle. You then pick up the tasks on the native side and write the code for what should happen on iOS or Android. Once you are finished, you pass the result back to Flutter to deal with.
These posts won’t go into detail on how channels work. If you’re interested to know more, the Flutter website has a dedicated page.
Getting back to the checkboxes. These are checked by default, leave them as they are.
Finally, click the Finish button at the bottom right of the window. Android Studio will go away and setup your Flutter project.
Note: You may have a window error appear on macOS saying dart / gen_snapshot cannot be opened because the developer cannot be verified. This Stack Overflow post can help. Follow the instructions, then the next time the error appears, click Open.
Running your Flutter App
Let’s get the app running. Along the top of Android is a toolbar:

Click the left dropdown. If you have an Android emulator setup, it will appear.
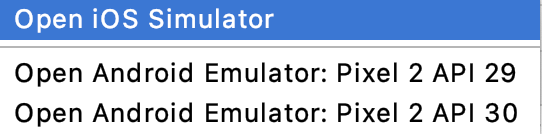
Select an emulator and Android Studio will start it up. It may take a while. Once the emulator is running, click the Run button. It’s the button shaped like a green play button.
Great stuff. Next, let’s explore some of the benefits of Flutter.
Hot Reload
If you recall in part one. We went through how Declarative UI frameworks work, by holding an internal state of the UI and only redrawing components to the screen when the state changes.
This gives you the benefit of speed as a developer when creating UI. Because only certain parts of the screen change during development, the app only needs to update those parts as you run the app. Let’s see an example of this using Flutters Hot Reload feature.
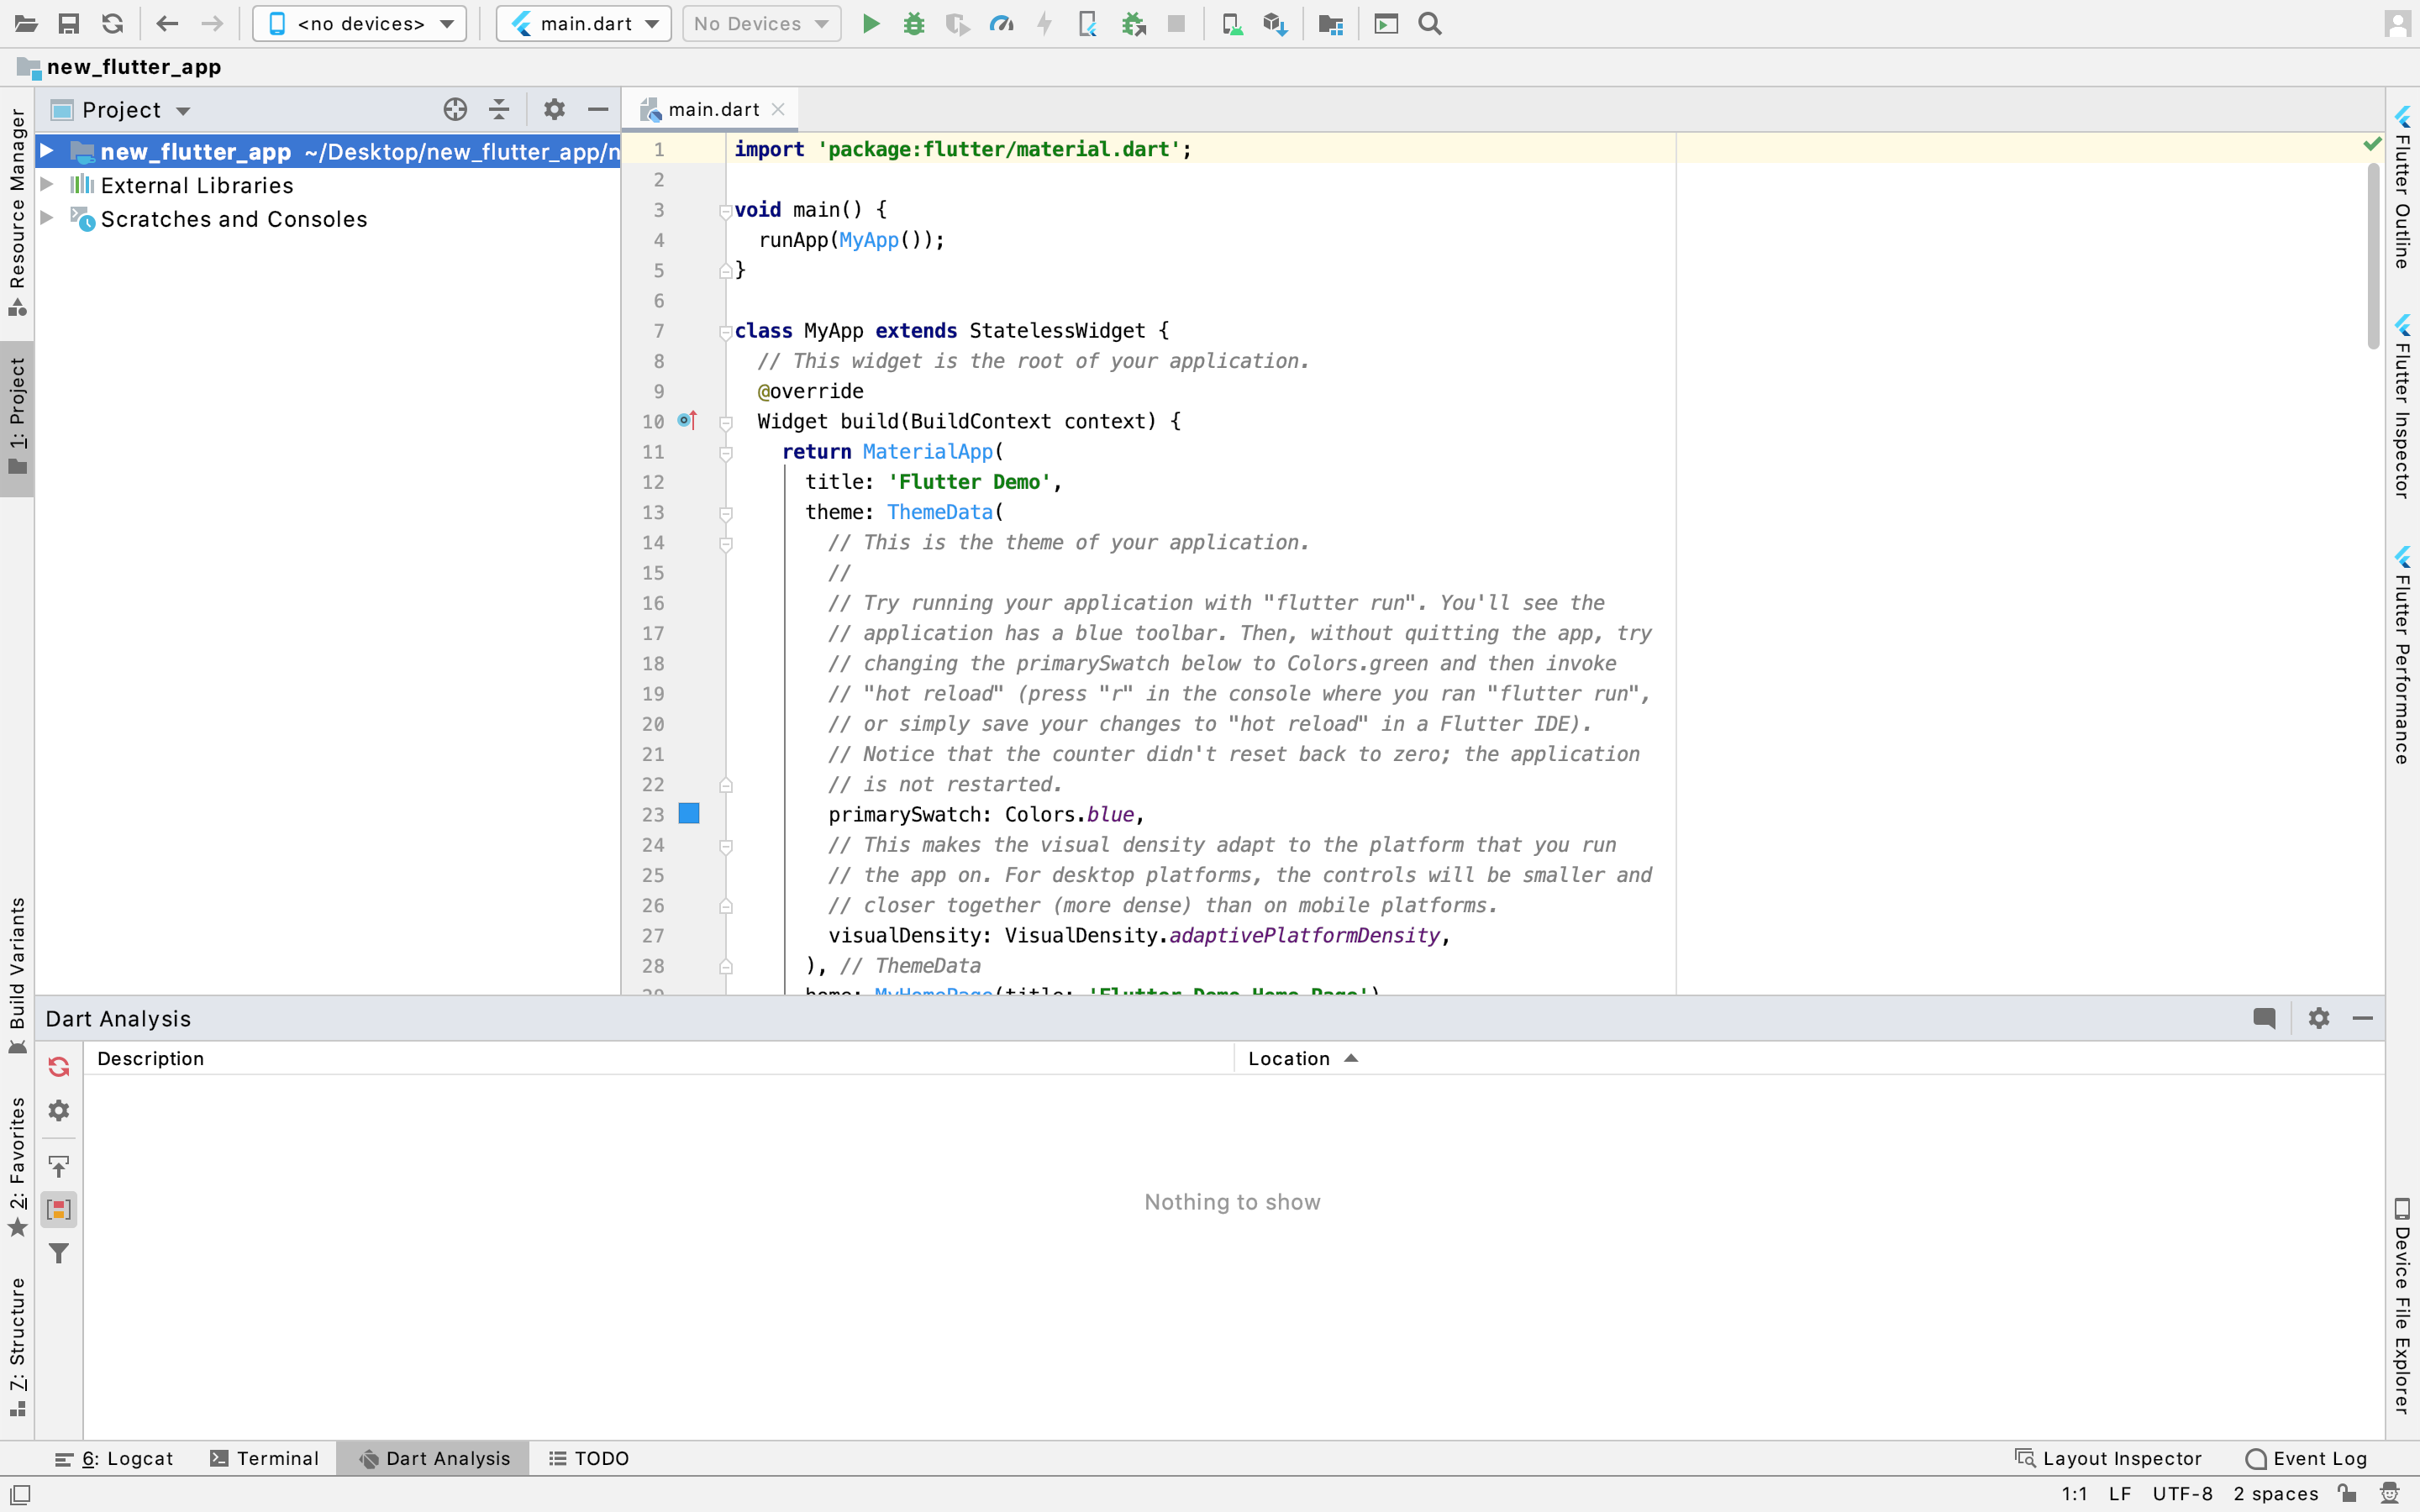
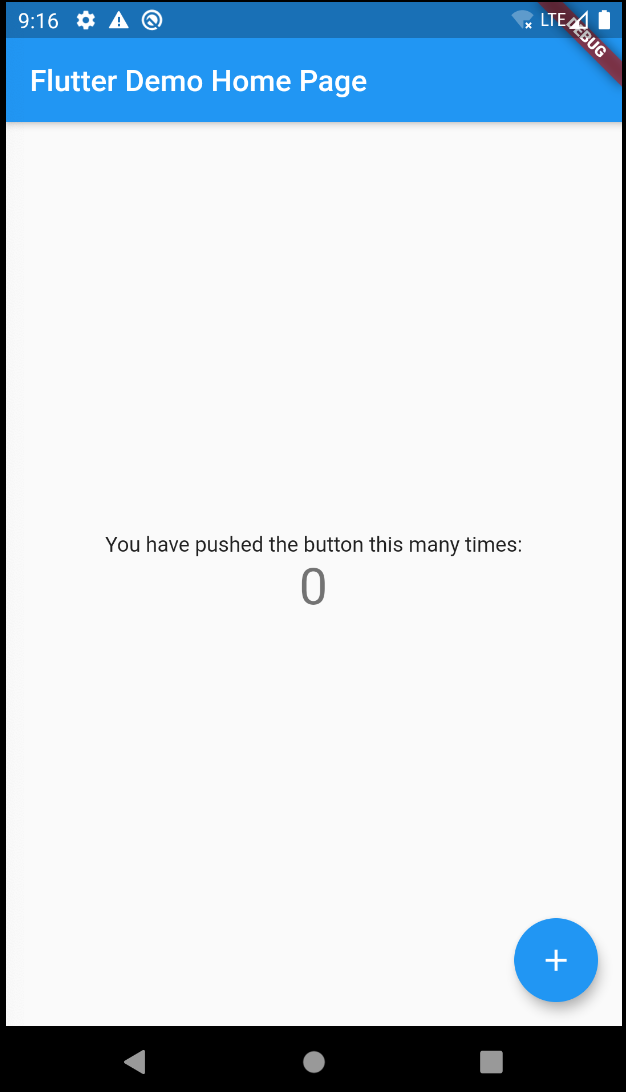
With the app running. Click the plus button a few times to increment the counter in the middle of the screen.
Next, open main.dart in Android Studio. Then, in the build() method of the MyApp class, change the value of primarySwatch from Colors.blue to Colors.purple.
Finally, at the top of Android Studio. Click the Flutter Hot Reload button. It’s the button shaped as a lightning bolt.

In a few seconds, your app will change from blue to purple!
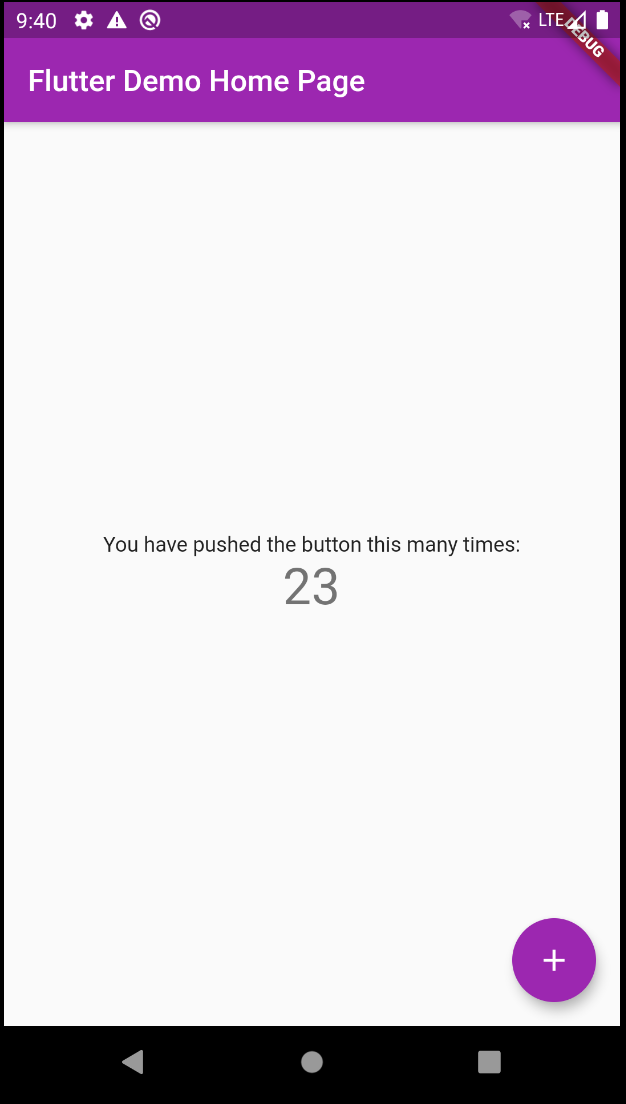
Do you notice how the counter hasn’t reset? Because Flutter is smart enough to know which parts of the app it needs to update, there’s no need for it to restart the app.
That’s all for this post. In the 3rd and final post, we’ll begin to learn how to adjust the UI of the app using Flutters language of choice, Dart.
You can find the next post here.
If you’re enjoying these posts and like to hear more from me. Follow me on Twitter.
Thanks to Brian and Libranner for inspiring me to try Flutter. They’ve talked about it extensively on the Ray Wenderlich Android and Flutter office hours over the past few months. I recommend watching them if you’d like to know more. (Warning: The office hours contain me talking about Android)