
Getting Started With Flutter: Part One
Flutter is a UI toolkit, allowing you to build a native UI across mobile, web and desktop. The beauty of Flutter is this is possible from a single codebase using declarative UI.
What is declarative UI you say? It’s a way of creating UI without worrying about the details. Here’s an example.
Imperative and Declarative UI Programming
You want to create a button with a blue background and add it to your screen. In the past, UI frameworks required the developer to be explicit about the state of the button, then explicit about adding it to the screen.
func viewDidLoad() {
    super.viewDidLoad()

    addButtonToScreen(color.blue)
}

func addButtonToScreen(color: Color) {
    val button = Button()
    button.setBackgroundColor = color
    view.addView(button)
}
Here, when the view is first loaded, a button is created by calling addButtonToScreen(color). The color of the button is set. Then, the button is added to the view. This style of setting up UI is known as imperative UI programming.
Let’s take a look at the same code, written in a declarative UI style.
func renderScreen() {

    View {
        createButton(Color.blue)
    }
}

func createButton(color: Color) -> Button {

    return Button(
        backgroundColor: color
    )
}
There’s a few small but important changes here. The creation of the button is still handled by a function, although the function now returns the button with the backgroundColor passed in as a parameter.
The declarative UI framework takes the button and automatically renders it onto a view in the renderScreen() method, without any explicit code required by the developer.
If you want to change the button color, you can pass in a different color into createButton(color: Color). The declarative UI framework will rerender the button, showing your button with the new color.
What’s clever about declarative UI frameworks is they know internally when UI needs to be updated, meaning graphics performance is kept high whilst using little energy.
If you keep this idea in mind, you’re halfway to understanding how many Declarative UI frameworks work. Swift UI, Jetpack Compose, React, React Native and Flutter are popular Declarative UI frameworks that work this way.
Let’s get started using Flutter.
Setting Up Flutter
Head over to the getting started page on the Flutter website.
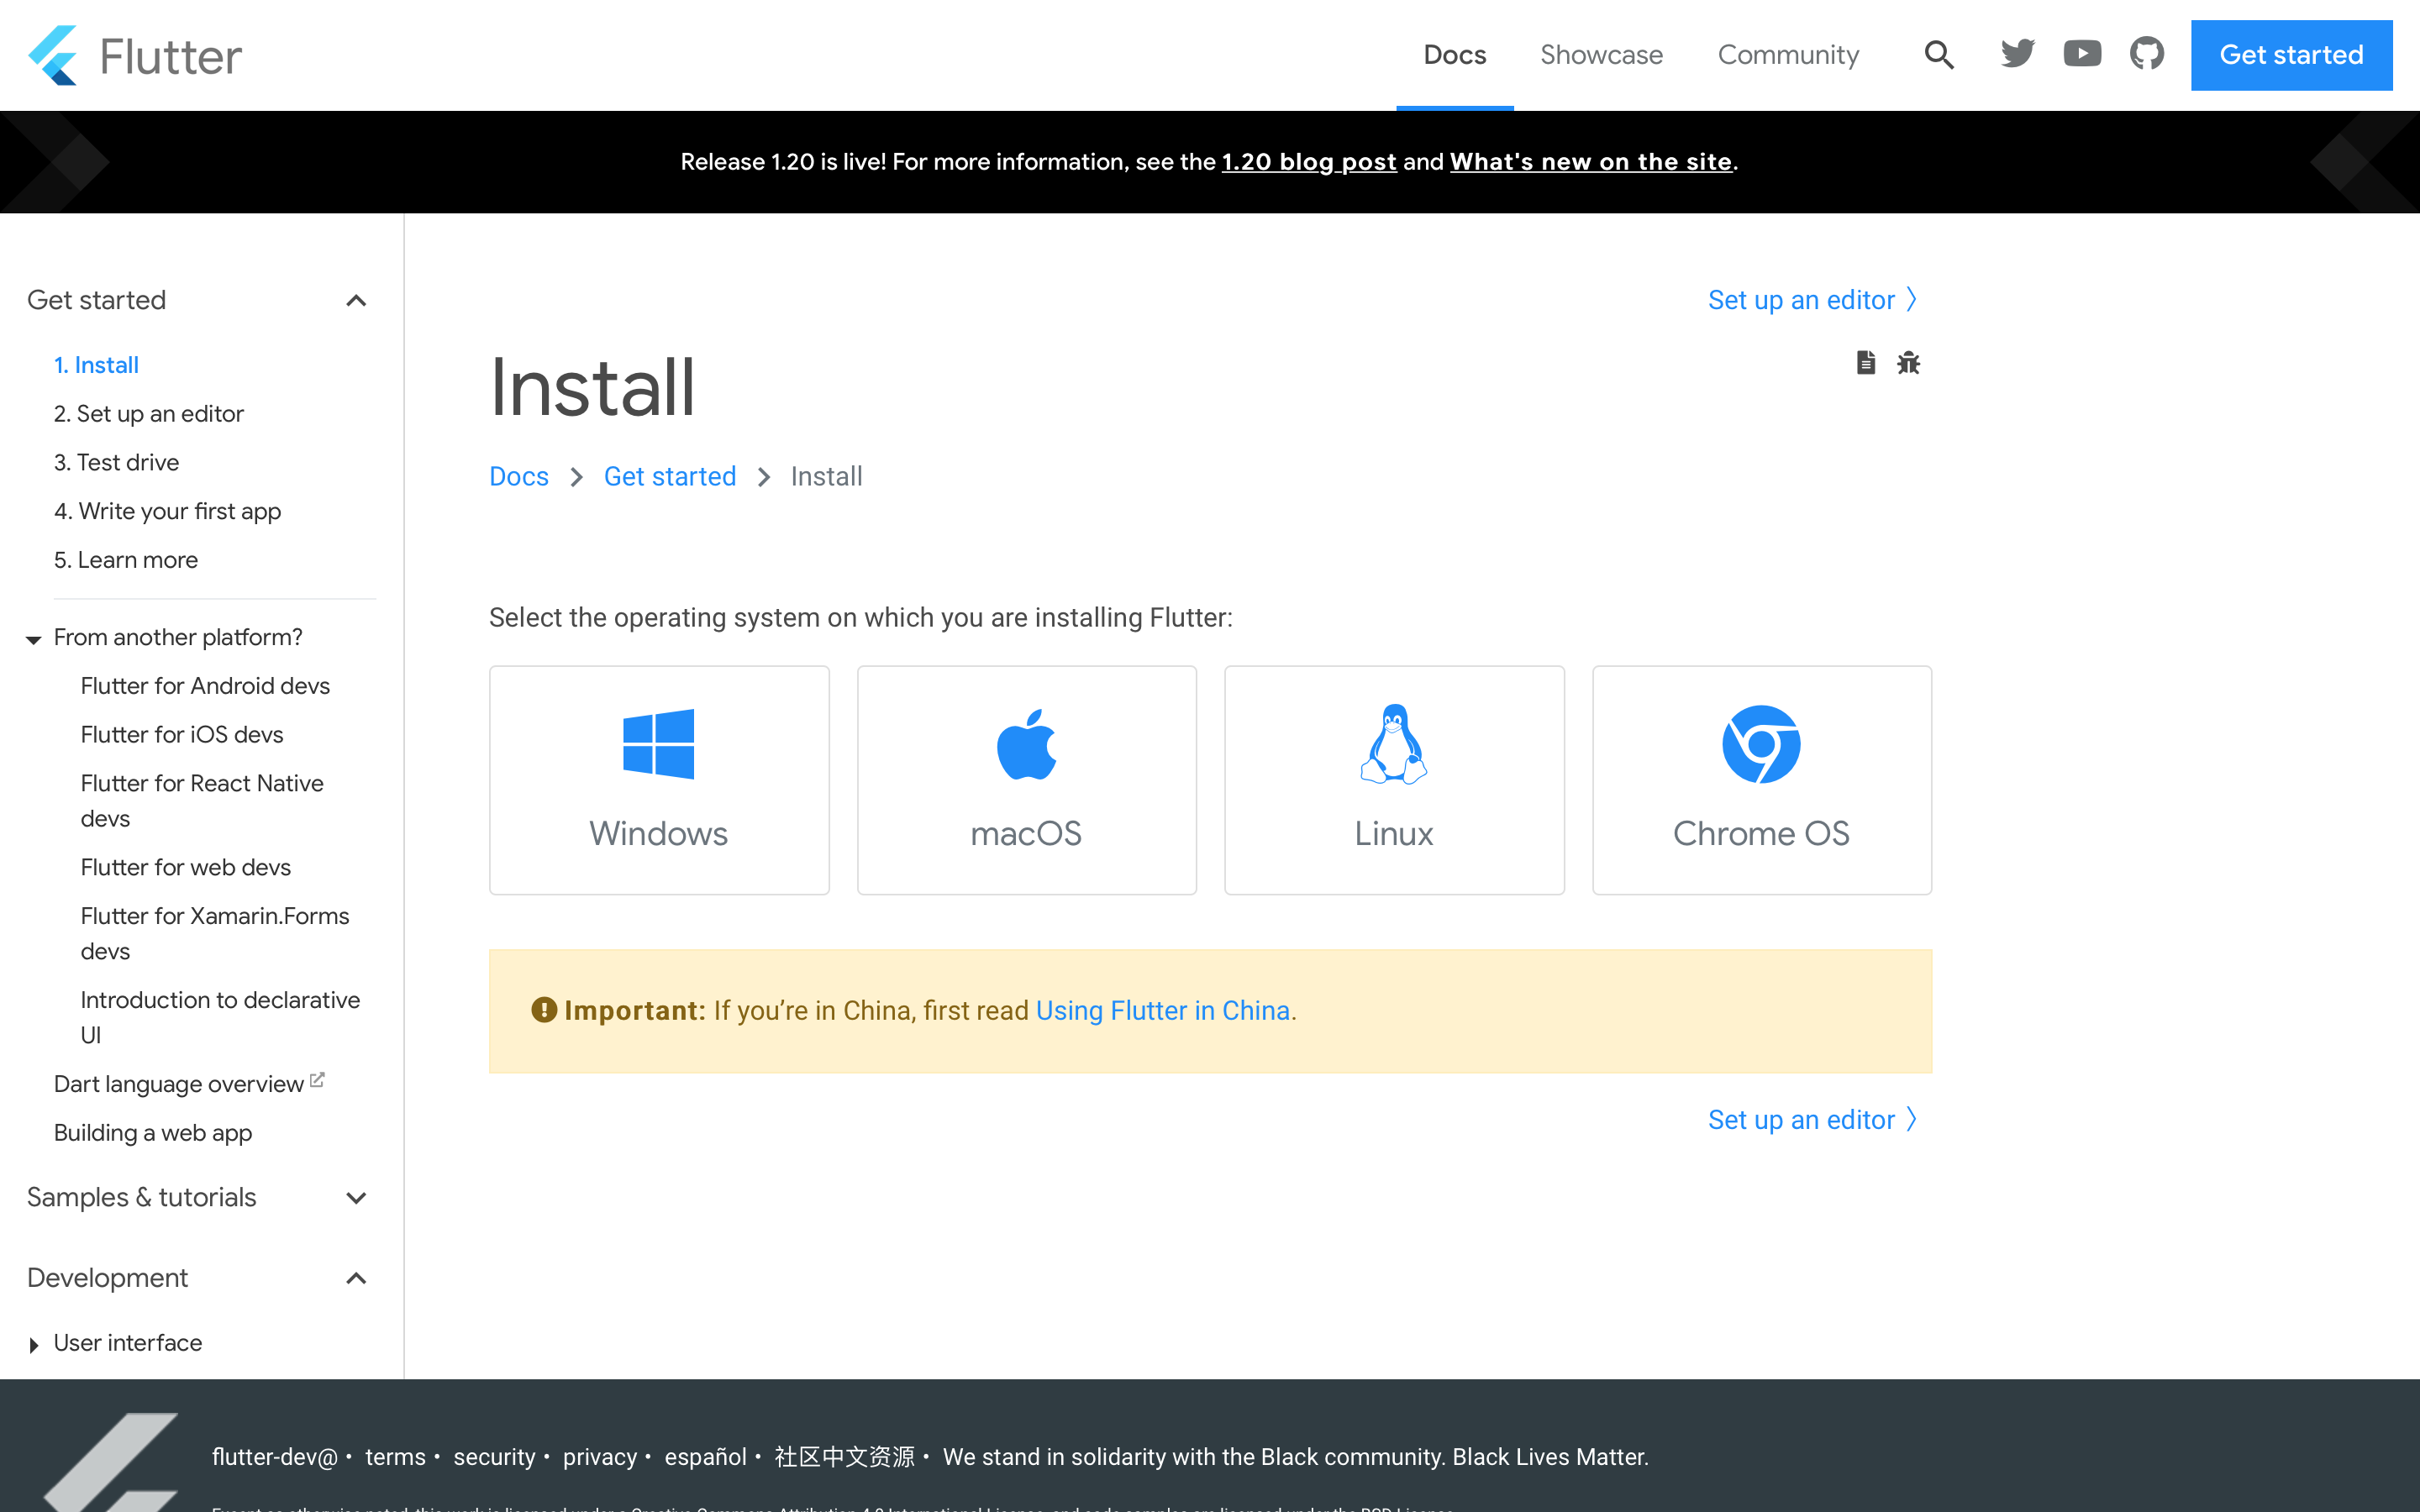
Select the operating system you are using, then follow the Get the Flutter SDK and Android setup sections to install the flutter SDK on your machine.
For this post I’m using macOS. The version of flutter installed is flutter_macos_1.20.1-stable. We’ll use Flutter with Android Studio, since Android Studio is available across multiple operating systems.
Here’s how to setup Flutter in a nutshell:
-
Download the Flutter SDK by clicking the blue button in the Get the Flutter SDK section.
-
Using the terminal, move the flutter directory from downloads to your home directory using
mv flutter ~/ -
Permenantly add flutter to your user PATH by opening
$HOME/.zhrc, then add$HOME/flutter/bin. (I’m using zsh as my terminal shell for this step, if you use bash update$HOME/.bash_profileinstead) -
Update the current terminal path by entering
source $HOME/.zshrc(entersource $HOME/.bash_profileif using the bash shell) -
Enter
which flutterto confirm flutter is installed. The path should be$HOME/flutter/bin/flutter -
Follow the Android Setup instructions to install Android Studio and setup a device or emulation to run your Flutter app on.
With the Flutter SDK installed and Android Studio setup, the next step is to install the Flutter Plugin. This gives Android Studio support to build Flutter apps.
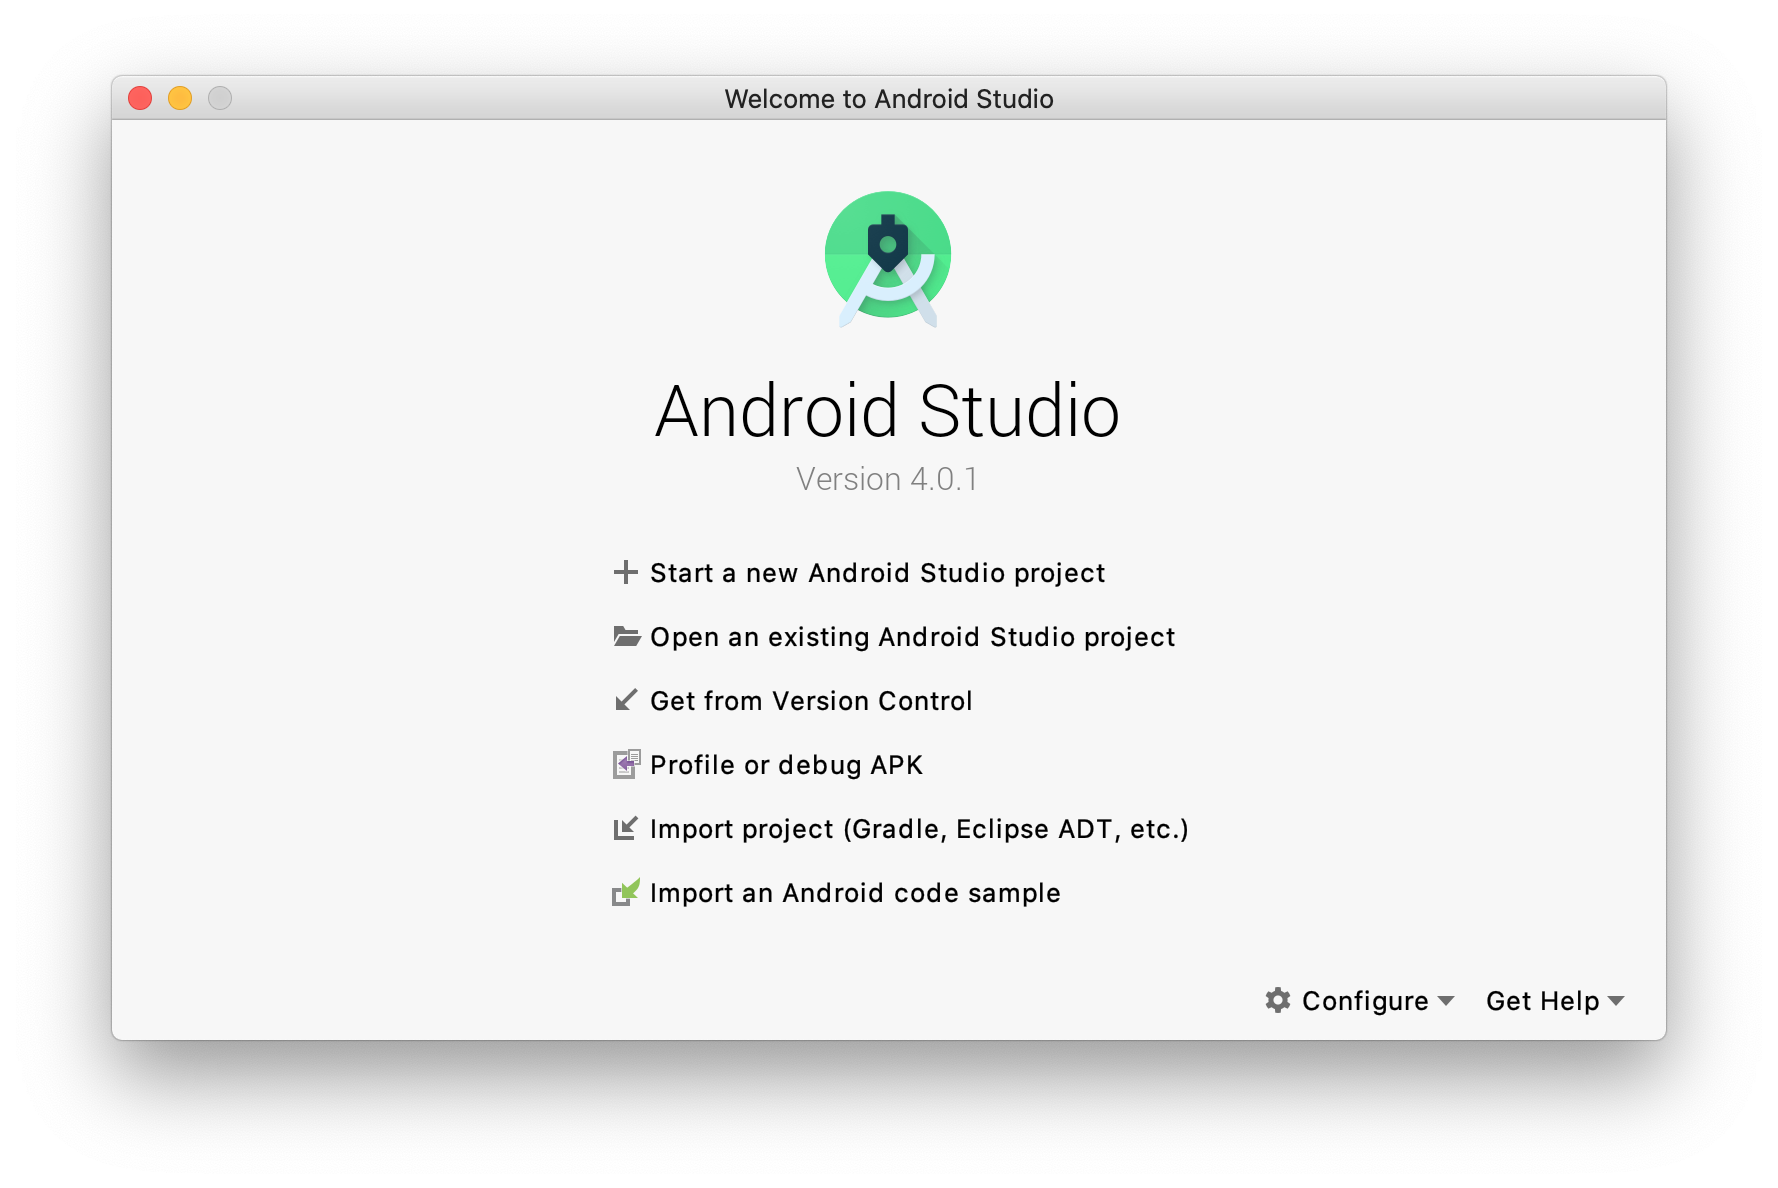
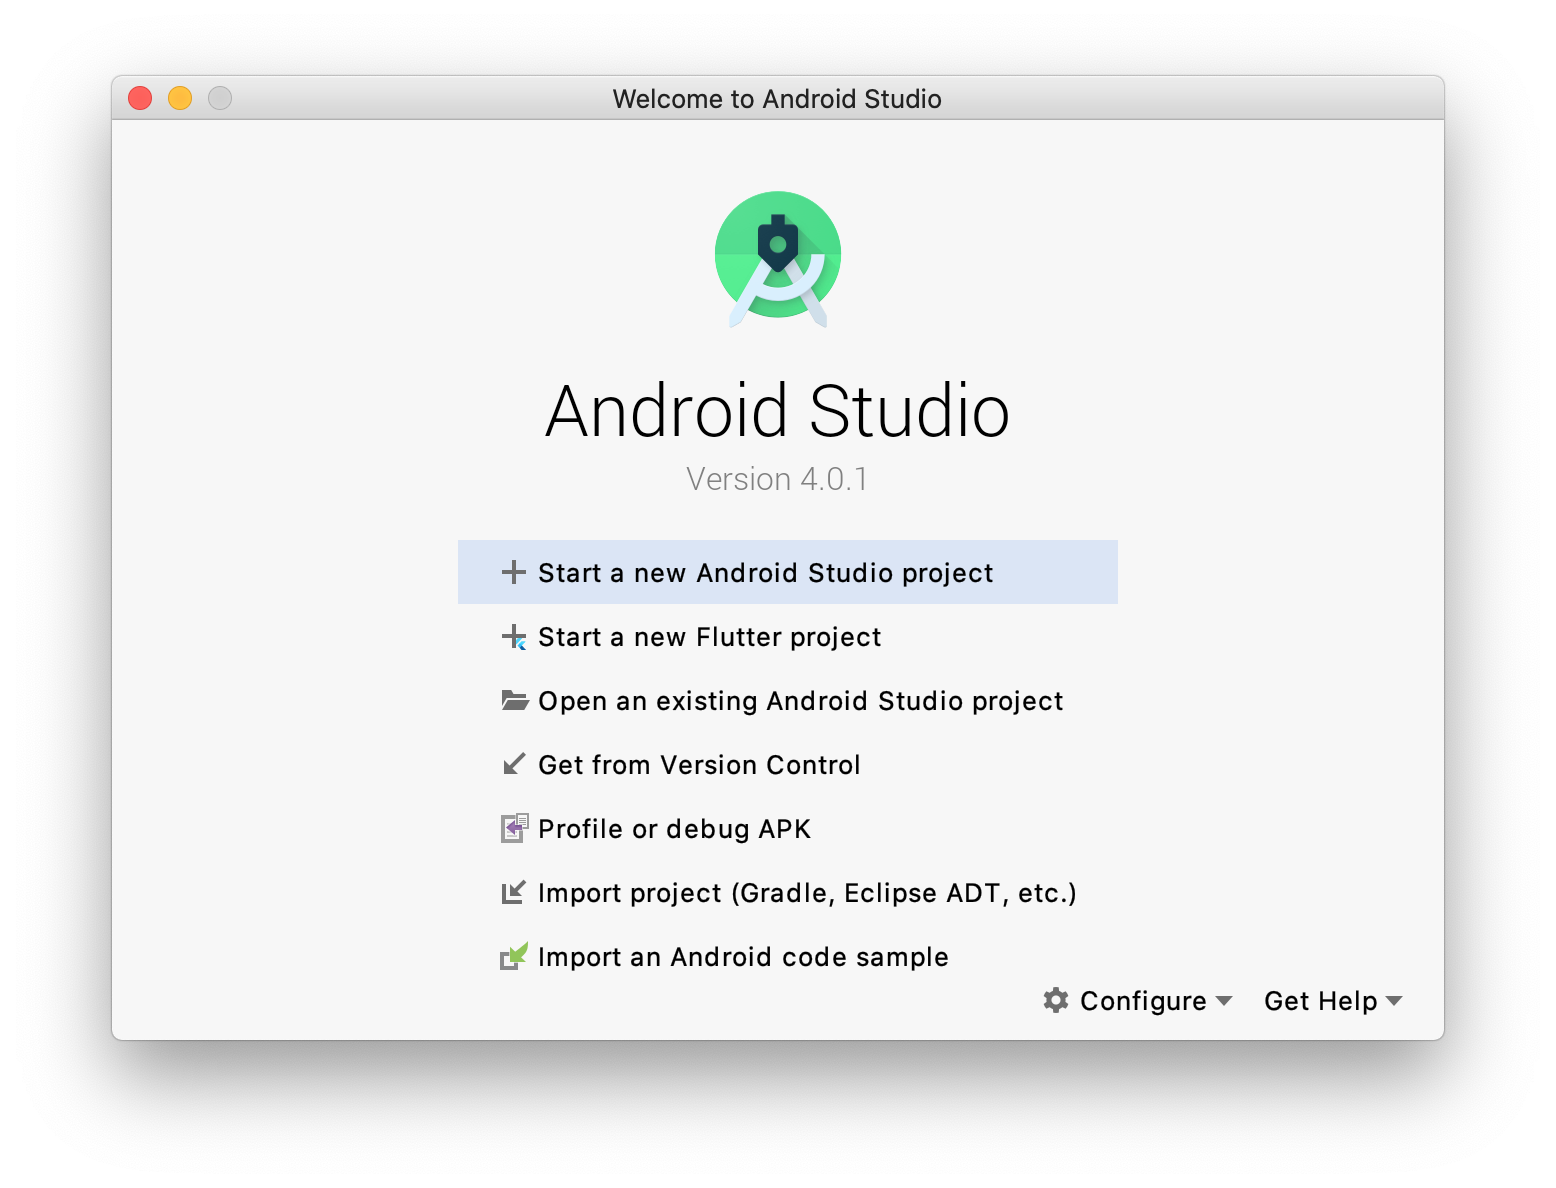
On the Welcome to Android Studio screen click configure.
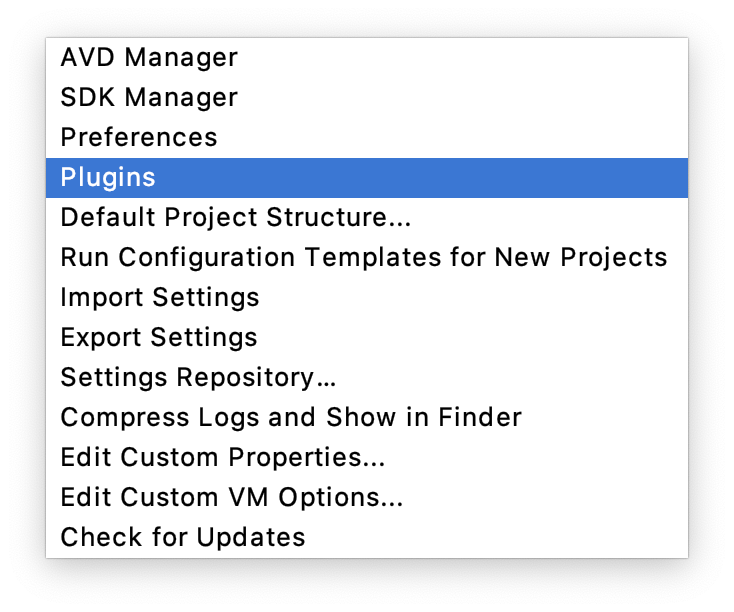
Next, click the plugins button.
With the plugins window open. Type flutter into the search bar. Making sure the Marketplace tab is selected at the top.
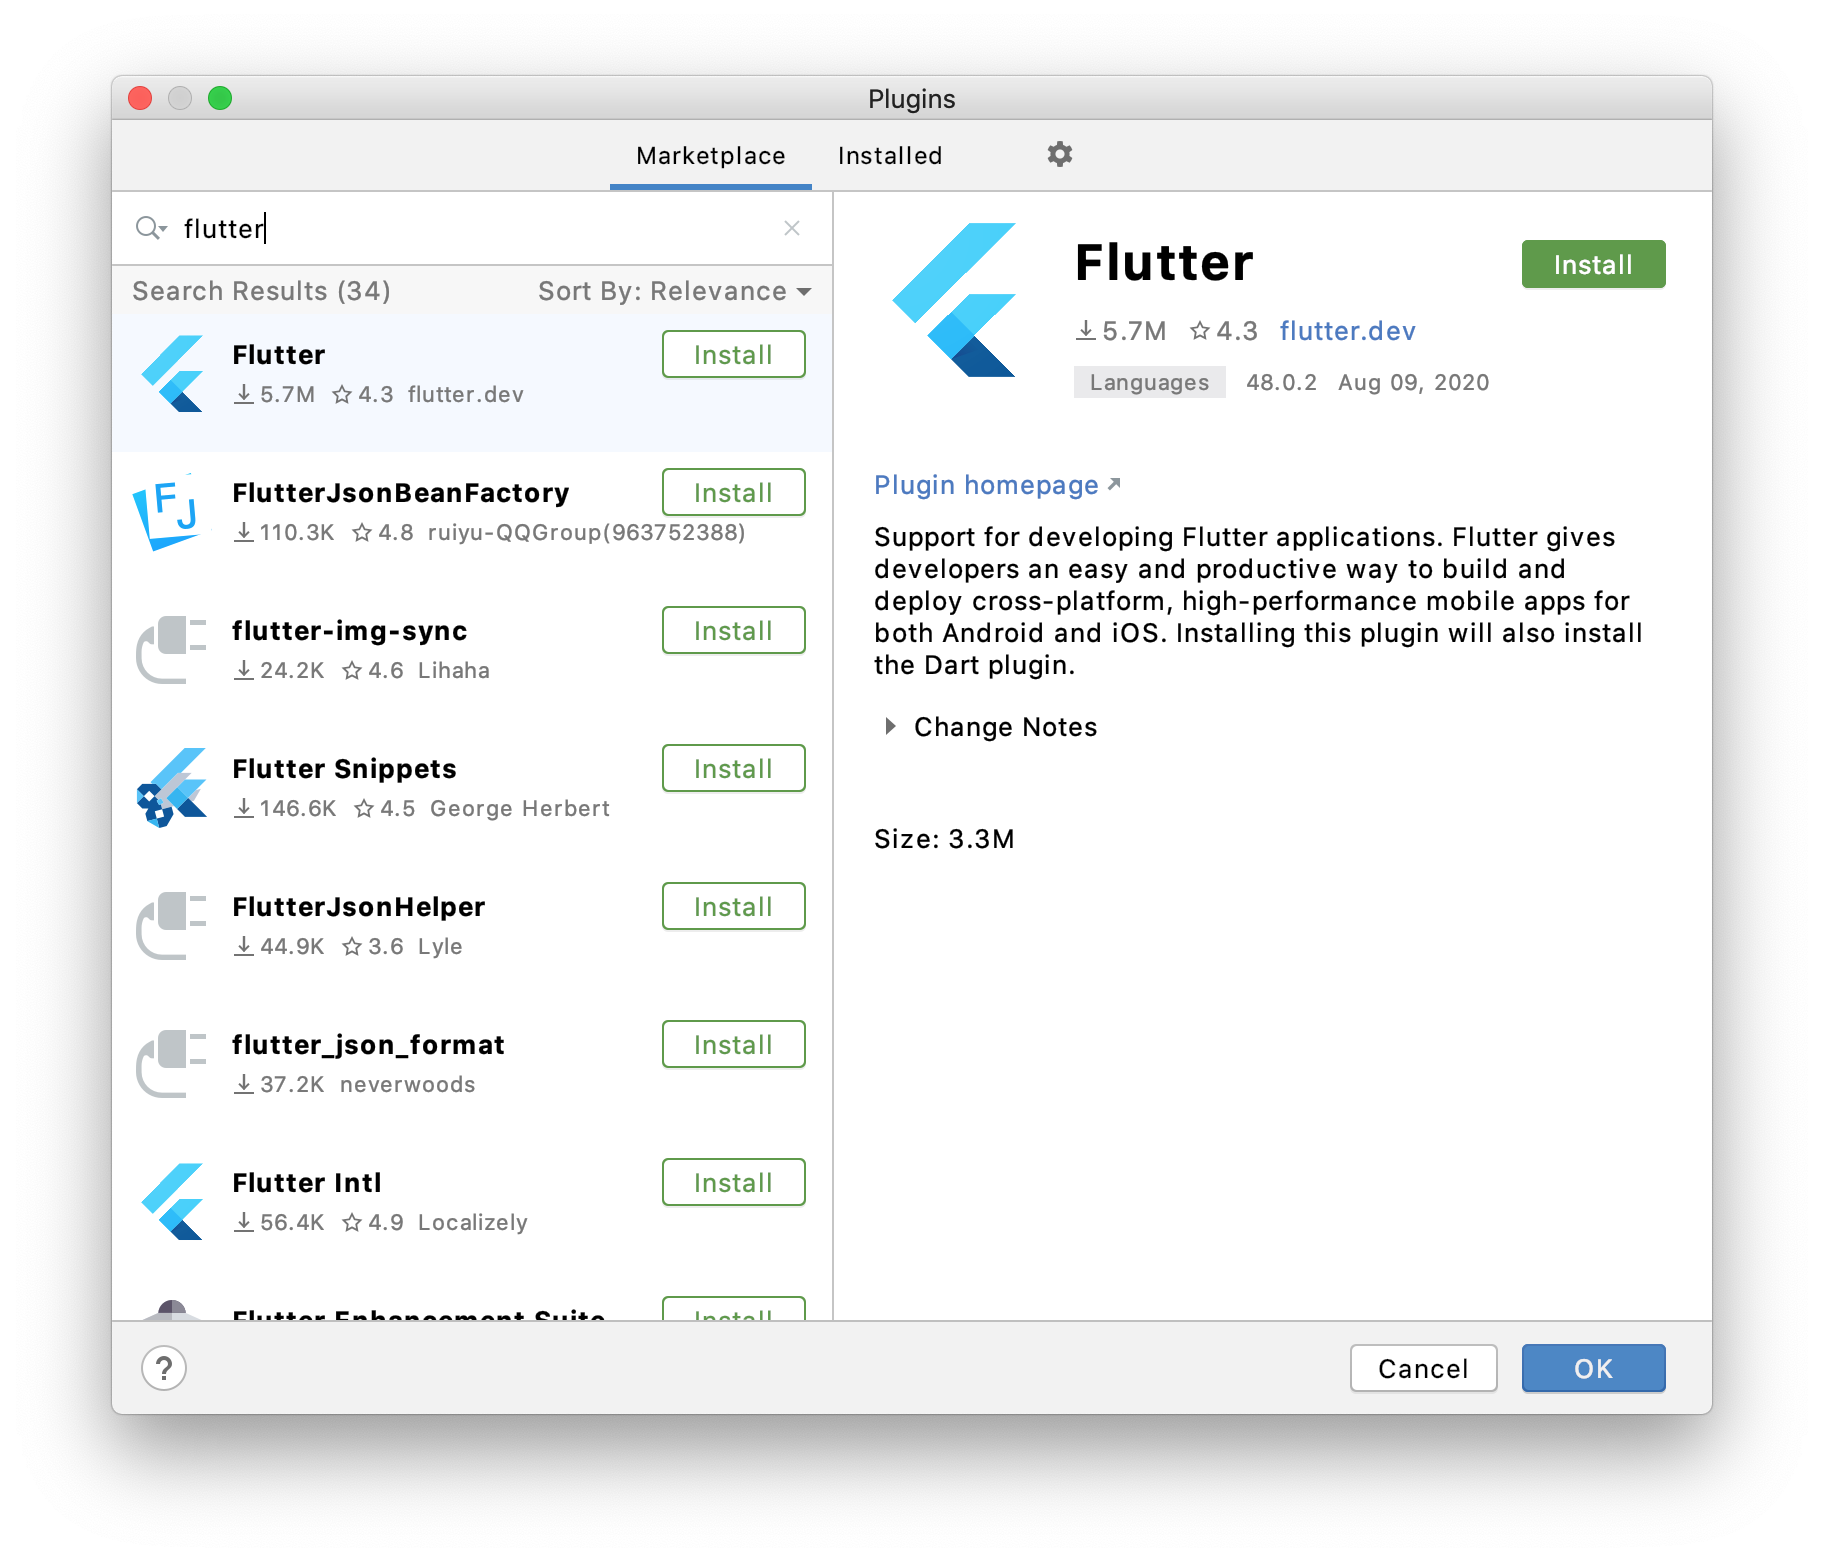
The first result on the left hand side is Flutter! Click the green install button to install the plugin. You’re also asked to install the Dart plugin.

Dart is the programming language used to build Flutter apps. For now, click Install to install the plugin. We’ll take a look at Dart later in the next post.
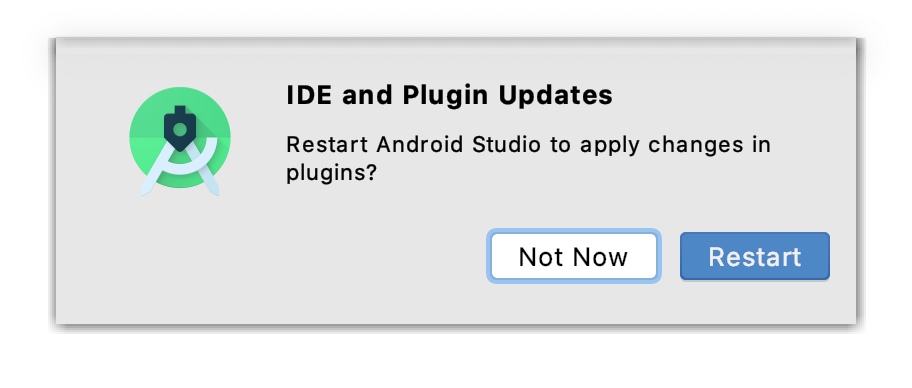
Once the plugin is installed. You need to restart Android Studio for the plugins to run.

Click Restart IDE, then Restart in the dialog window that appears.
Android Studio will restart, showing you the welcome screen with a new option on the menu.
We’re off to a good start. In the next post, we’ll go through the project creation steps to create our very first Flutter app!
You can find the next post here.
If you’re enjoying these posts and like to hear more from me. Follow me on Twitter.